Getting started
Design the invitation, share one link, watch the RSVPs arrive — in about two minutes.
This walks through the shortest real path through ahvaan: sign up, create an event, copy an invite link, and see a guest RSVP. Nothing here requires reading anything else first.
1. Create your account
Sign up with an email and password (at least 8 characters), or continue with Google. If your Supabase project has email confirmation turned on, you’ll see a “check your email to confirm it, then sign in” message instead of landing straight in the dashboard — confirm, then sign in normally.
2. Create an event
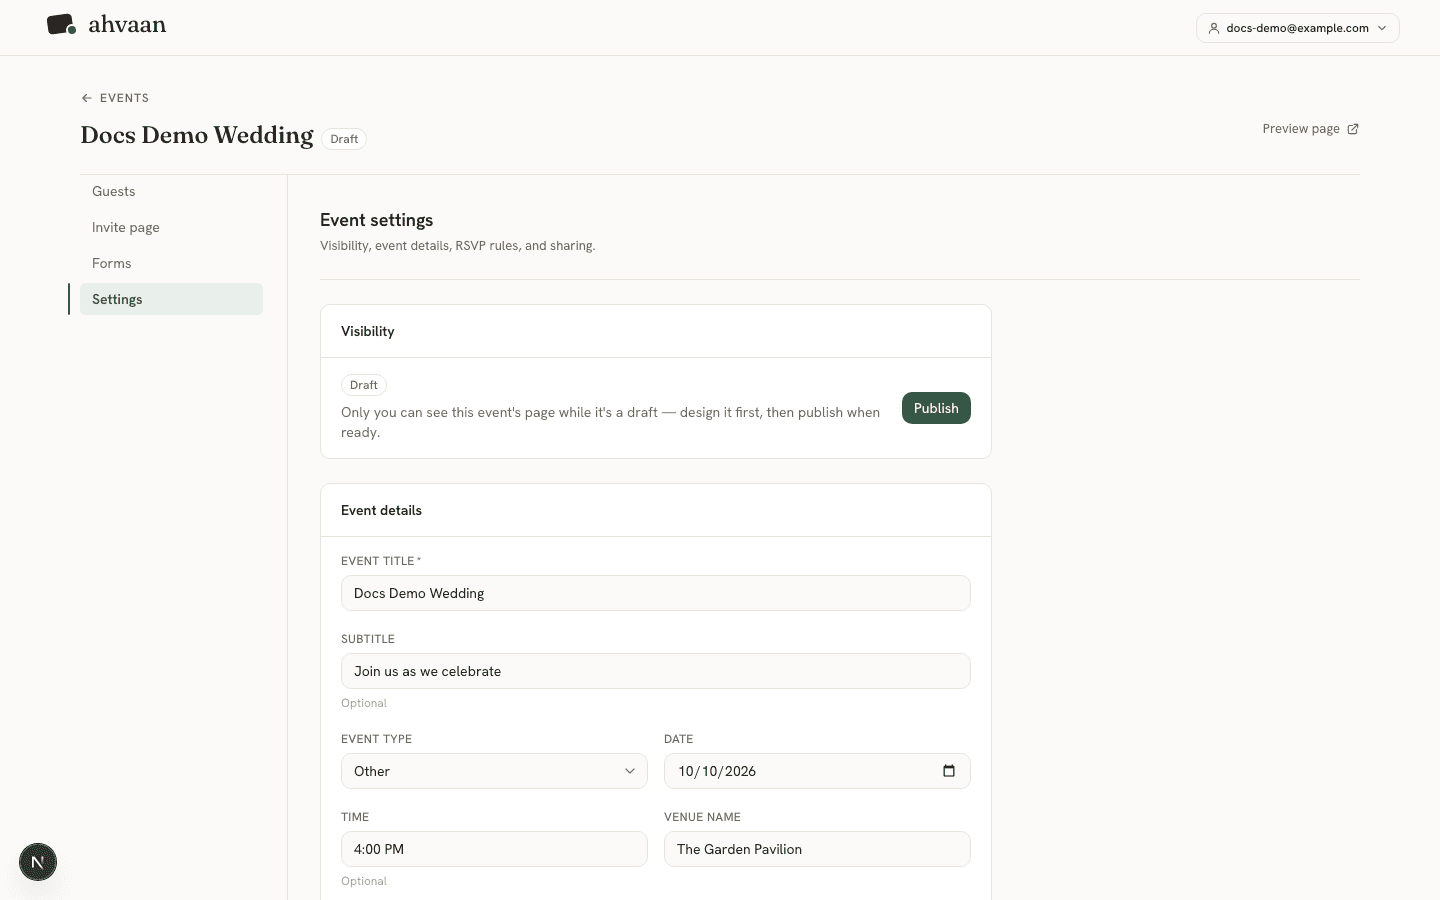
From the dashboard, click Create event and fill in a title, date, and venue. Every event starts as a draft— its guest page exists but isn’t reachable until you publish it from the event’s Settings tab. This lets you design privately before anyone can see the page.
3. Design the page
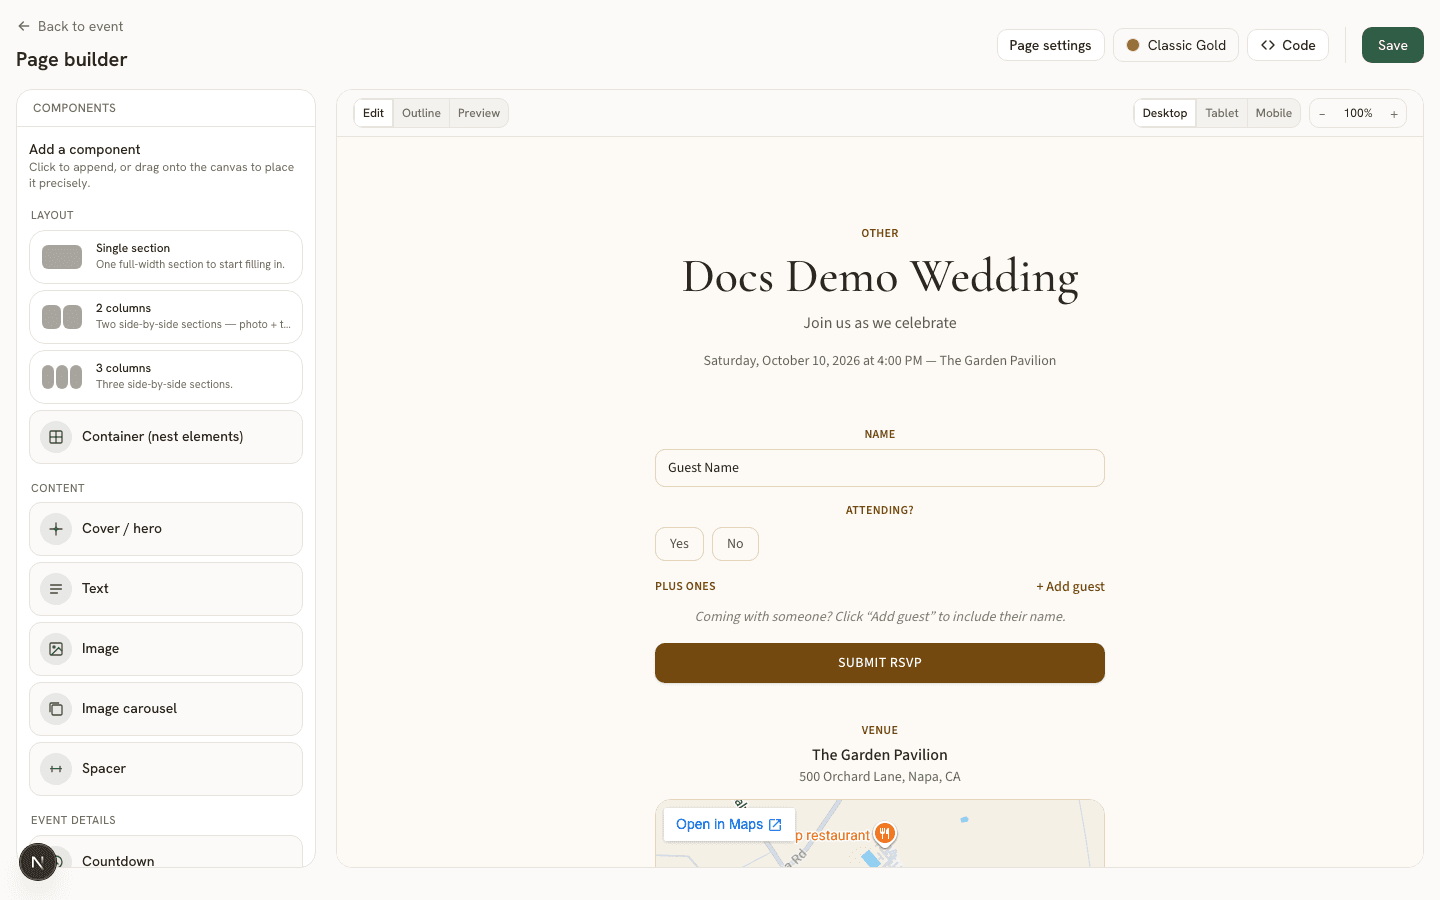
Open the event’s Invite page tab to reach the page builder. Every new event starts with a hero, an RSVP form, and a venue map already in place — see the page builder guide for every block you can add.
4. Invite a guest
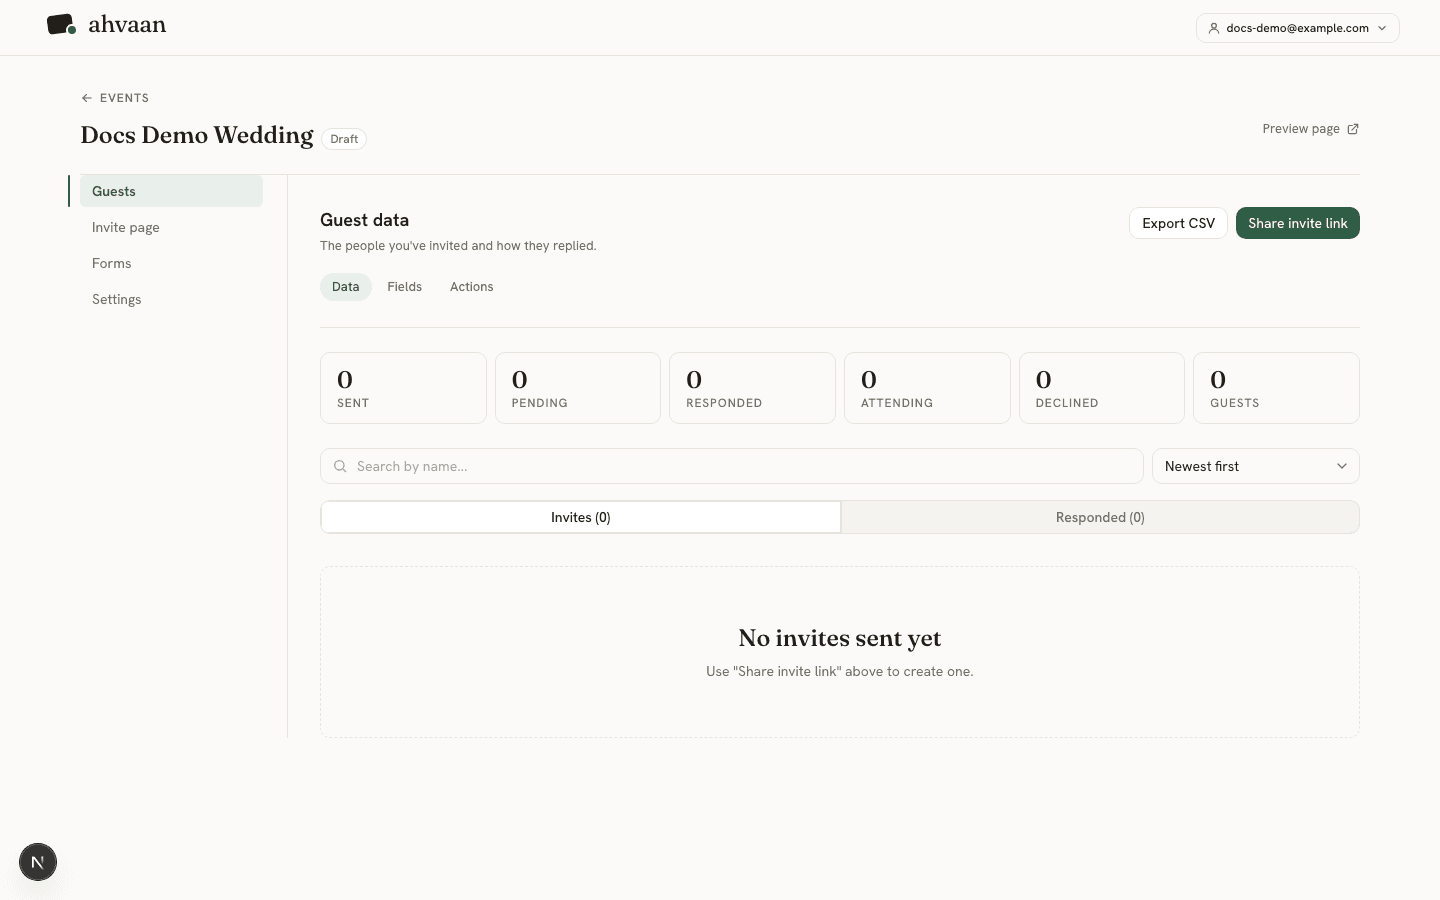
Go to the event’s Guests tab and add a named invite. Each invite gets its own personal link — copy it and open it in an incognito window to see exactly what that guest sees: their name pre-filled, ready to RSVP.
5. Watch the RSVP arrive
Submit the form in that incognito window, then go back to the Guests tab — the invite moves from Pending to Responded, and the stat tiles update immediately.
Good to know