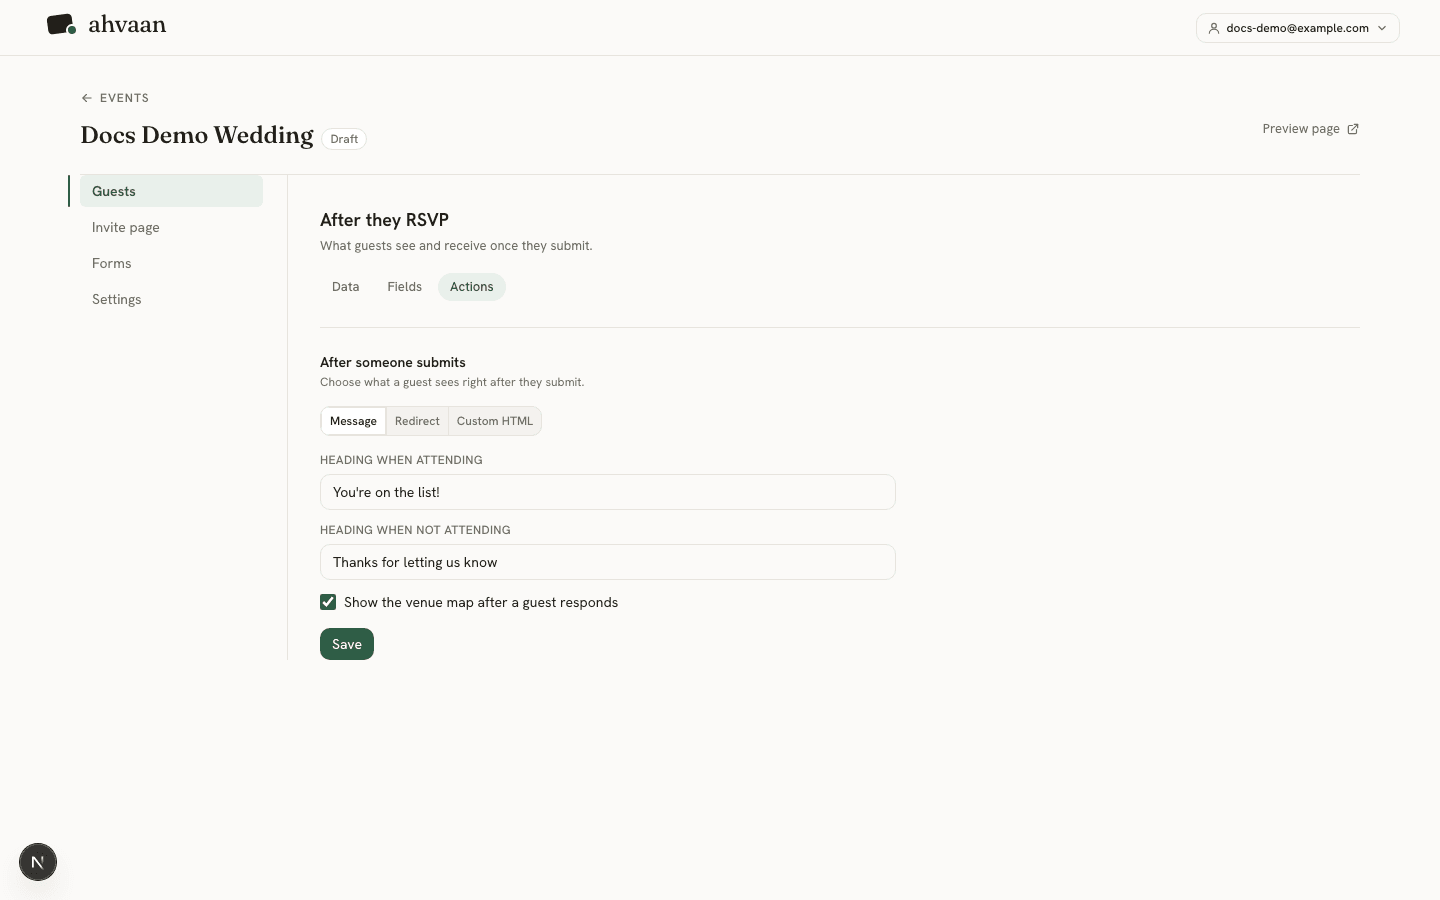
RSVP form
What you ask guests when they RSVP, and what happens right after they submit.
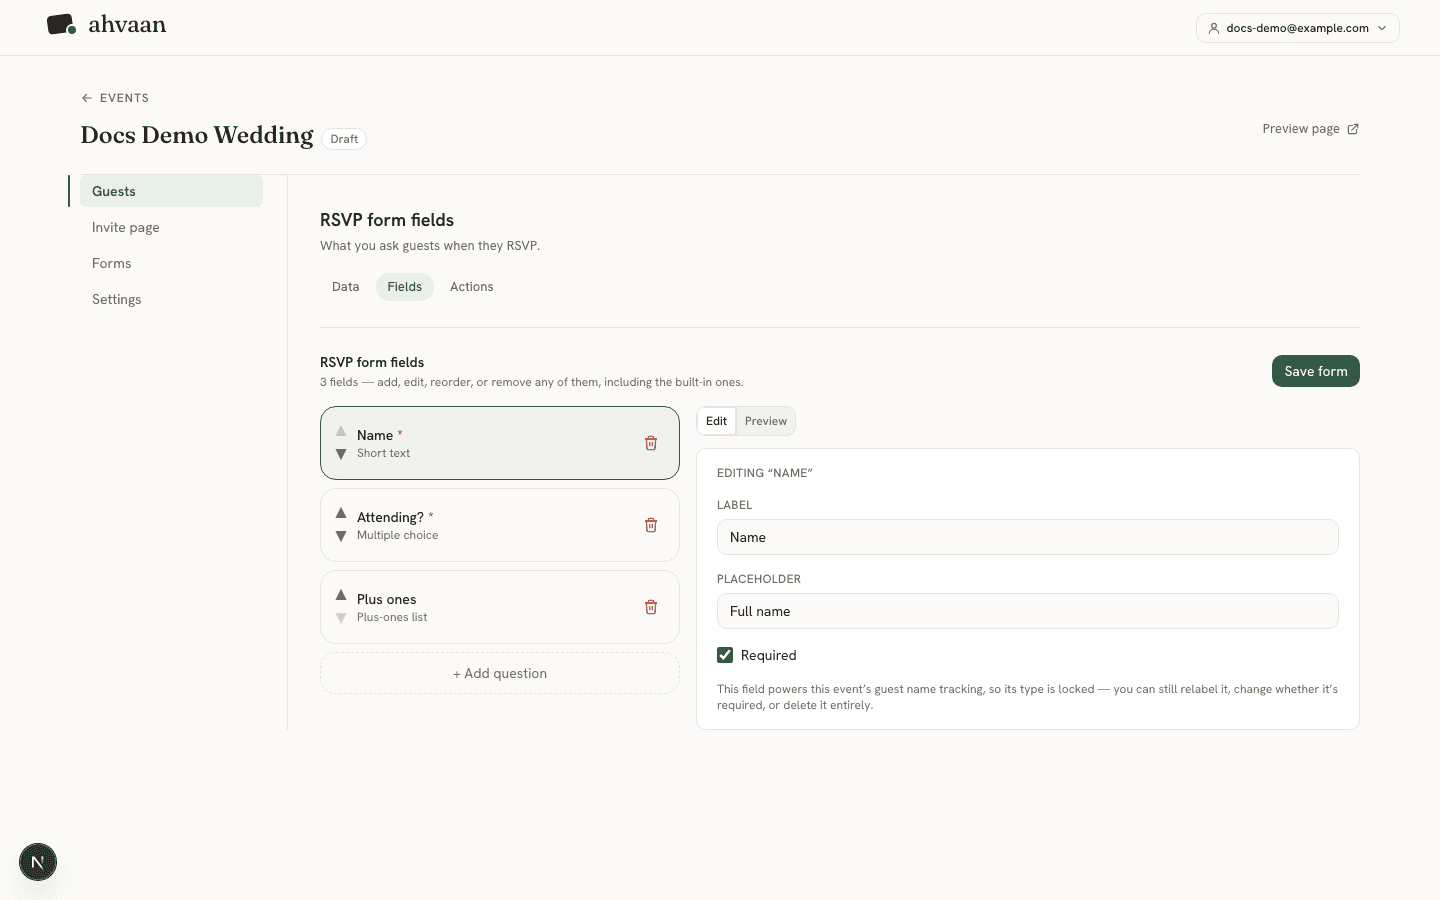
Every event has one RSVP form, managed from the event’s Guests → Fields tab. It starts with three fields — Name (short text), Attending? (a yes/no multiple choice), and Plus ones (a plus-ones list) — enough to run an event without any setup.
Field types
Beyond the three starter fields, you can add: short text, long text, a dropdown, multiple choice, checkboxes, and the plus-ones list type. Add, reorder, or delete any field, including the built-in ones.
Role-tagged fields
The Name, Attending, and Plus ones fields carry a role— a tag that lets the app find “the field that means attendance” even after you relabel it, independent of its position in the form. A role-tagged field’s type and options are locked in place (attendance always stays a yes/no choice, for instance) so the data it produces stays trustworthy — but its label, whether it’s required, and its position are all still freely editable, and you can delete it outright if you want to change how that part of your form works.
If you delete a role field
If you switch an event’s submission mode to email-verified (in Guests → Settings), an Email field is added to the form automatically so submissions can be tied to a verified address.
After a guest submits
The Actionstab controls what a guest sees right after RSVPing: a confirmation message (with separate headings for “yes” and “no” responses, and an option to show the venue), a redirect to another URL, or fully custom HTML/CSS.